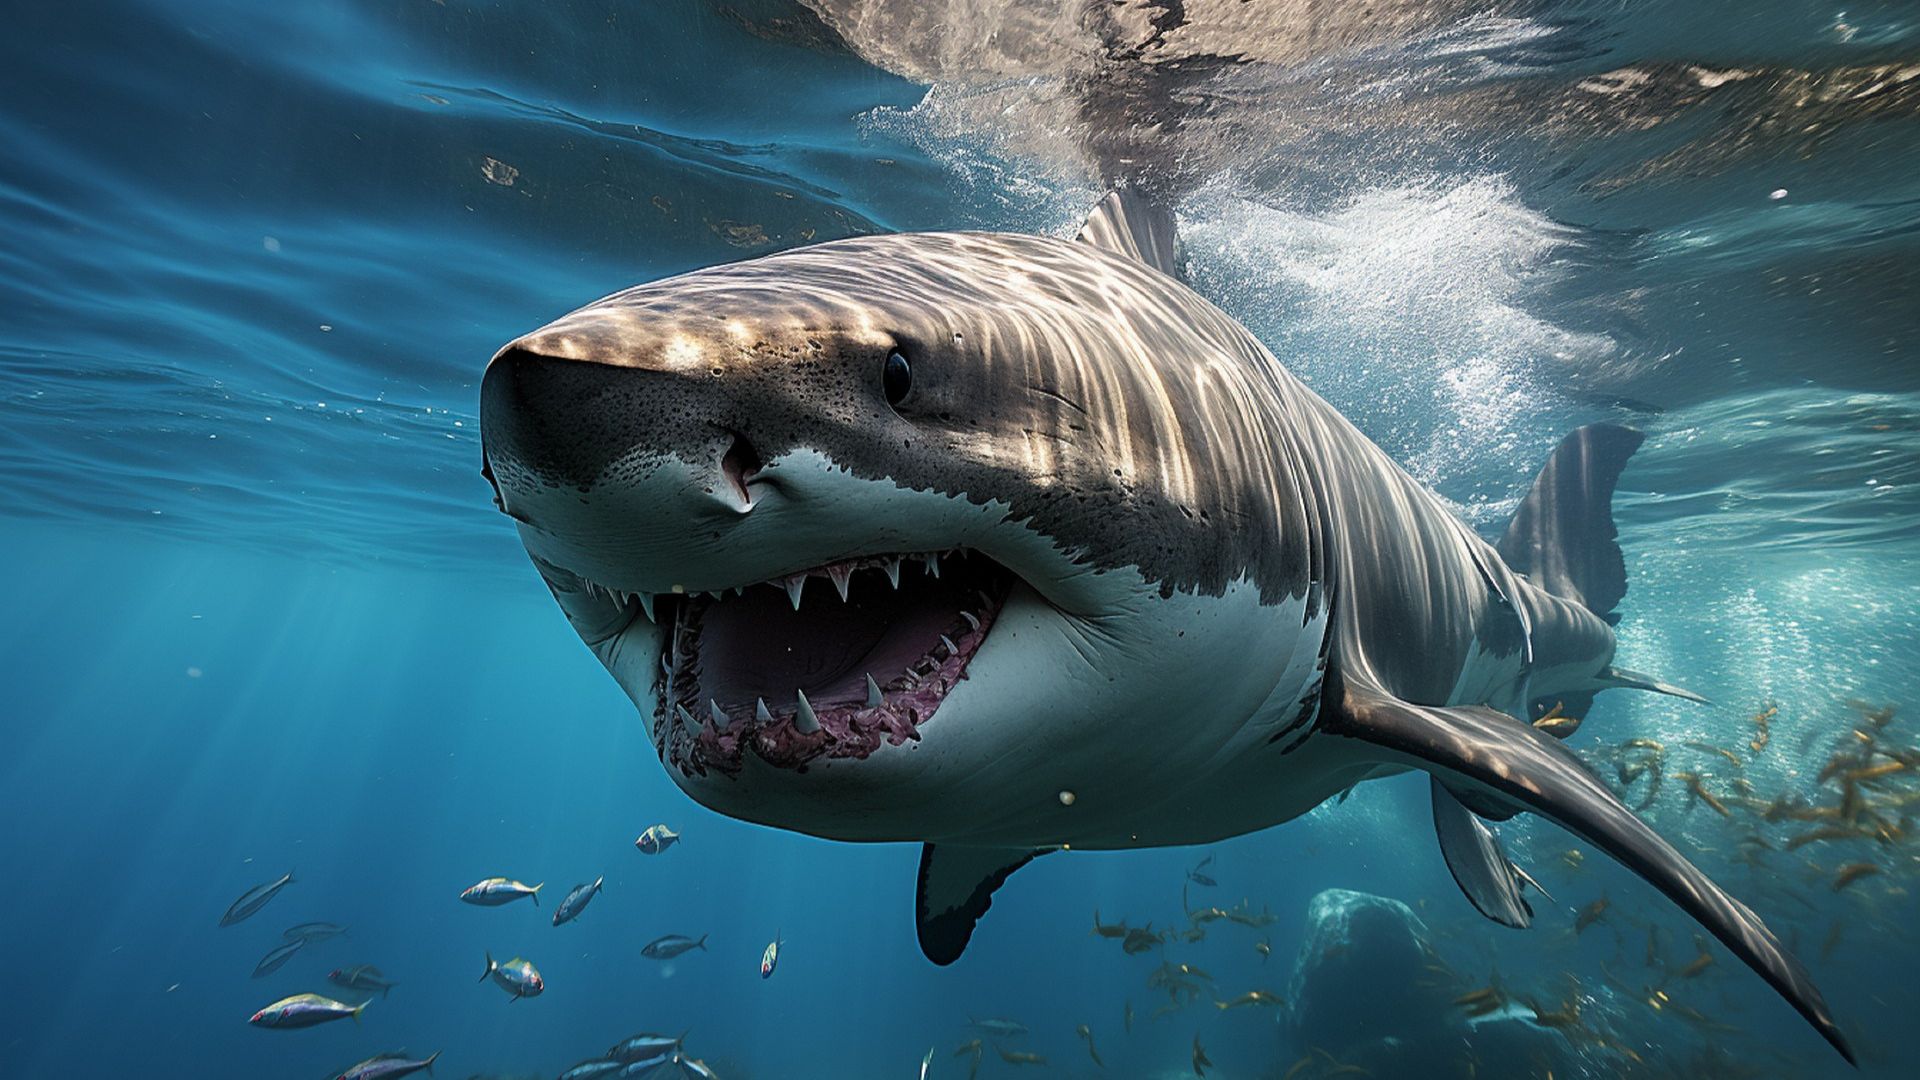
The International Shark Attack File (ISAF) from the Florida Museum of Natural History looked into 120 reported shark-human interactions across the globe in 2023. Among them, there were 69 unprovoked shark attacks, exceeding the five-year average of 63 attacks per year. However, experts stress that this doesn’t necessarily mean shark attacks are on the rise. […]
Originally published on February 1, 2023, this article has been updated on October 25, 2023 to reflect the latest research and statistics. Our editorial team has ensured you’re viewing the most current data on this topic. Need help or have a question? Email us. Overfishing is a serious problem that is causing consequential damage to […]

.commonpostlink { display: none; } .commonpostlink.new-content { display: block; /* or “inline” or “inline-block”, depending on your desired display */ } Blue whales are magnificent creatures that have graced our oceans for over one million years. Did you know that the blue whale is the largest known animal to have ever lived on earth? A […]
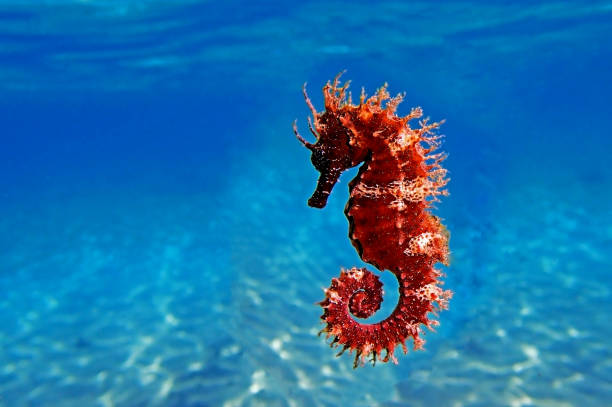
When I was a child, by far, my favorite animal in the sea was the seahorse. I was fascinated by these wonderful creatures and always made a beeline for their aquarium every time we visited our local Sea World exhibition. Despite their name, seahorses are fish species, not reptiles or mammals. These remarkable creatures can […]
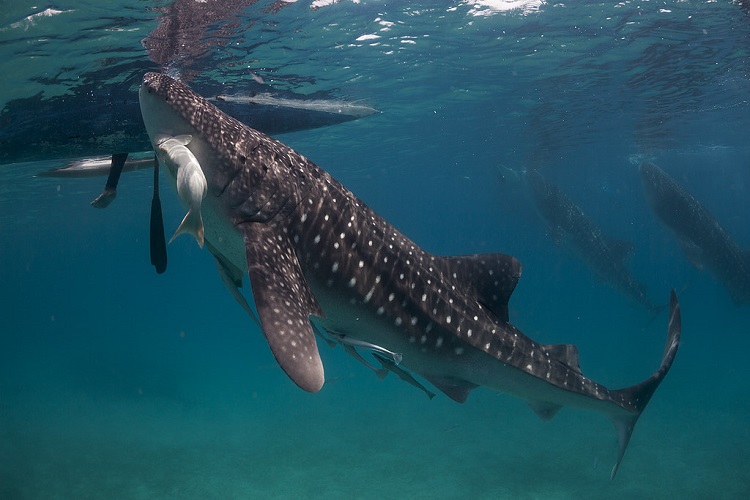
Did you know that Whale sharks are not whales at all but the planet’s largest fish? However, unlike the Great White shark in the “Jaws” movie, these 40-foot gentle giants pose no threat to people, feeding on plankton rather than surfers! Despite being mostly seen in isolation, these creatures often assemble in numbers where food […]
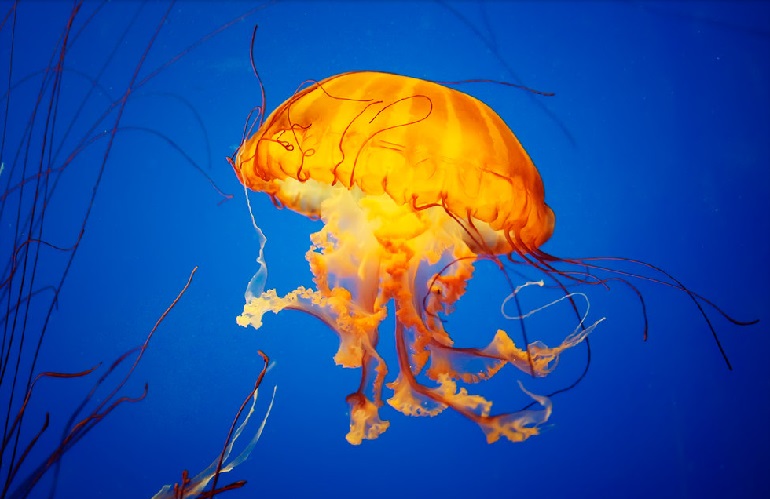
Overview Did you know that a group of jellyfish is sometimes called a smack? I reckon you’ll agree that nickname is appropriate if you’ve ever swum right into one of these animals and been stung by its trailing tentacles! These remarkable animals have been around since before the dinosaurs lived, which is pretty impressive for […]
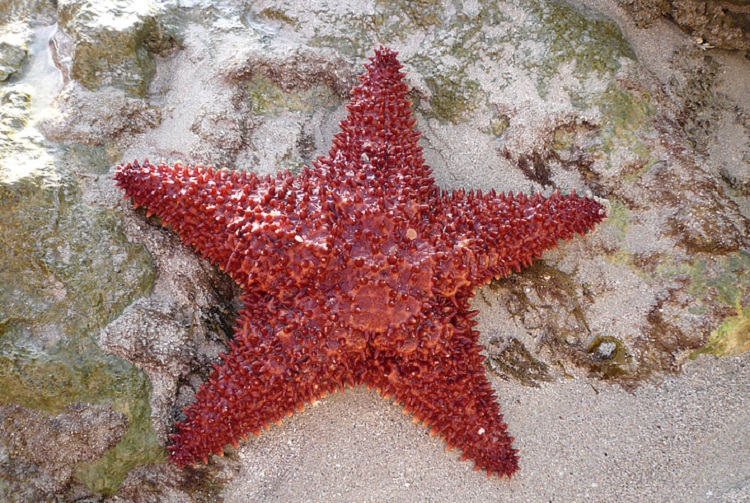
Overview It’s thought there are around 2,000 species of starfish living in every one of the world’s oceans, from the tropical Caribbean to the frigid depths of the Arctic. So, if, like me, you love beachcombing; you’ve most likely come across a stranded starfish or seen one in a rockpool. Did you know that starfish, […]
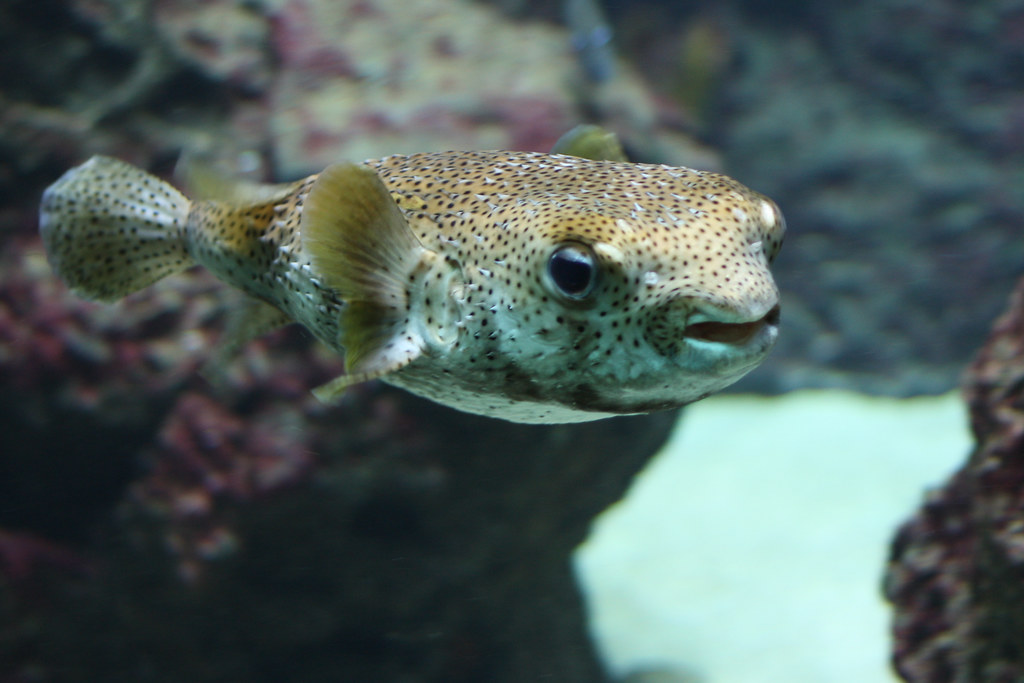
With their ungainly wobbling swimming style and comical facial expression, blowfish are cute, characterful creatures that many experienced aquarists choose to keep as pets. But did you know that a blowfish is 1,200 times more toxic than cyanide? And there’s no known antidote to the fish’s poison! In fact, there’s enough toxin contained in one […]

Betta fish – They’re more complex than people think. They’re usually purchased from a pet store with little to no instructions, along with a hearty “Good luck!” One assumption is that if they’re laying at the bottom of the tank, they’re just chillin’ out when, in fact, there are lots of reasons they could be […]