
Two years ago, I made my pooch’s very first leather collar. Many people asked me, back then, why I didn’t buy a leather dog collar. Well, to be honest, I did!
I ordered about a dozen of leather dog collars but each one, somehow, failed to satisfy me and my canine. I still remember when I spent hundreds of my hard-earned bucks on one of those collars.
I thought since it’s expensive, it must be incredible and it was, though, just not in the way I expected it to be. The collar looked more like a devil leash, wrapping around my dog’s fragile neck, than easy-breezy dog wear.
Since then, I have made and designed my leather dog collars myself. Yes, it does take a little more effort than ordering one but believe me, a self-made leather collar is worth every drop of your sweat. How? Here are my reasons:
How Self-made Leather Collars Better than Commercially Available Ones?
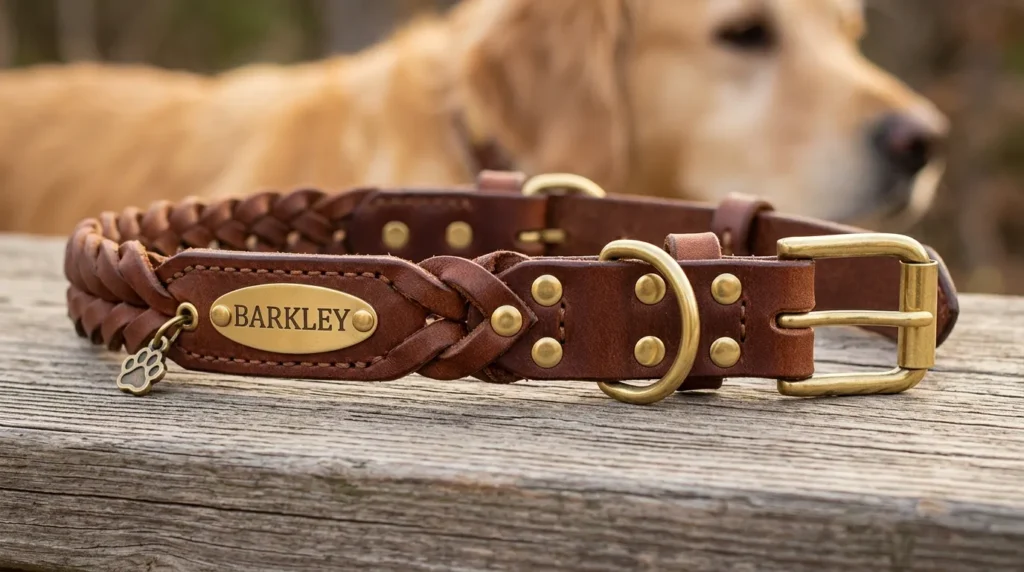
Best Designs & Customization
Yes, many leather collar designs are indeed offered in the market, but still, none of them could be an exact copy of your imagination. On the other hand, when you make your leather dog collar yourself, you can design and customize it however you want, as per your dog’s temperament and looks.
Cost-effective (If You Already Have the Required Tools)
DIY products are usually more affordable and easy on your wallet. The leather itself is a costly material, but making a leather collar on your own can seriously downsize the total cost in the end.
Utmost safety
A leather collar comes to the outlet after passing through chemical-filled procedures of tanning, dying, processing, etc. Even though the manufacturer claims that these chemicals are non-toxic to your pooch, they can still harm him.
For instance, your dog might be sensitive to the chemicals used to get rid of the spoiled smell of leather. Similarly, the dye might consist of allergens which can put the life of your little pup at risk.
Now tell us, can’t you get a little time off to invest in the well-being of your furball? We know your answer, so without any further ado, let’s start our stepwise guide for making leather collars.
Steps to Make Your Own Leather Dog Collar
Making a fancy-looking leather dog collar is not only simple but also interesting. All you have to do is to follow the given steps:
Gather Materials and Tools
If you live in North America, the best place to buy all the tools and materials is Tandy leather, as these guys keep a full stock of leather goods. Besides you can also purchase these items through Amazon or a nearby art & craft store. The best part is, with a one-time purchase, you can make at least three dog collars.
Materials
This material list consists of all the components that are going to be a part of your leather dog collar. It includes:
- Buckle
- Leather straps (the best option is full-grain, original leather since it’s ultra-durable. However, you can opt for lighter varieties for your less aggressive small dogs)
- D rings
- Rivets
- Chicago screws
- Leather dye
- Sealant
- Decorative studs (optional)
- Leather conditioner (beeswax, cream conditioner, oil)
Tools
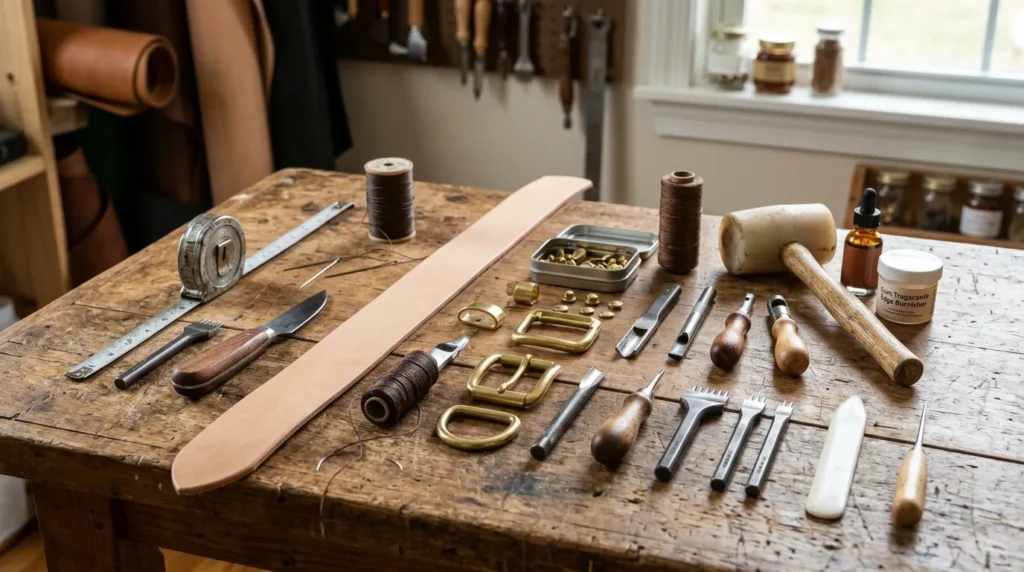
Unfortunately, most of the tools required to make a leather collar are not generally found in every household, so you might need to buy them. However, we suggest you search in your neighborhood or social circle and burrow them from someone already into leather working.
If you have serious plans about opening your own small business of leather collars, you can purchase second-hand tools, too. Such tools are not only affordable but can also serve you in the long run. These tools are:
- Leather shaver
- Edge sleeker
- Leather mallet
- Hole punch
- Oblong hole punch
- Leather strap cutter
- Leather punch/sharp scissors
- Brushes and sponges for dying
- Clean rugs to clean the mess
- Gloves
- Ruler
- Rivet setter
- Skiver
- Pliers and screwdriver
- Tack hammer & Leather stamp
Cut and Prepare Leather in a Generous Length
Follow the steps given below:
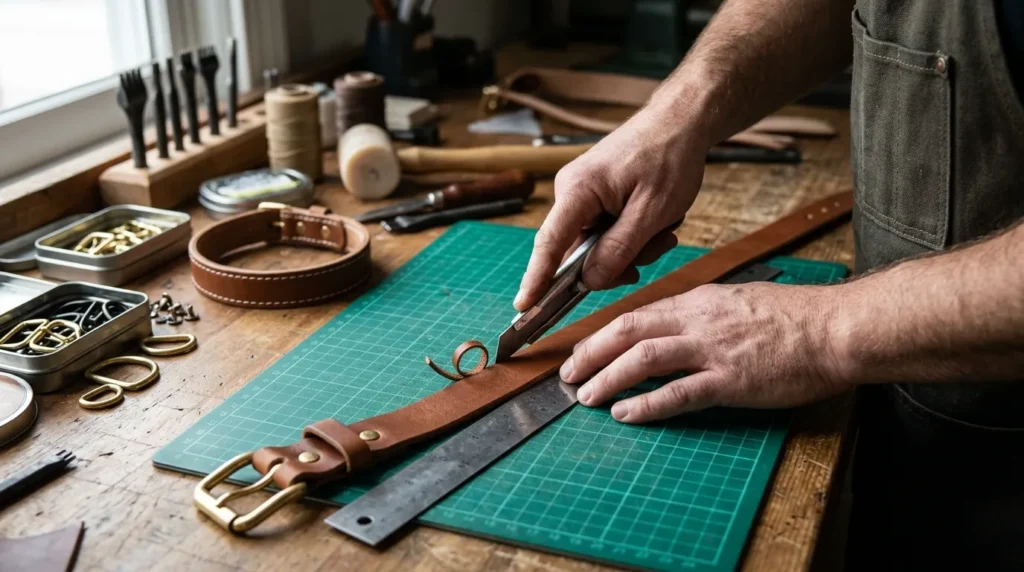
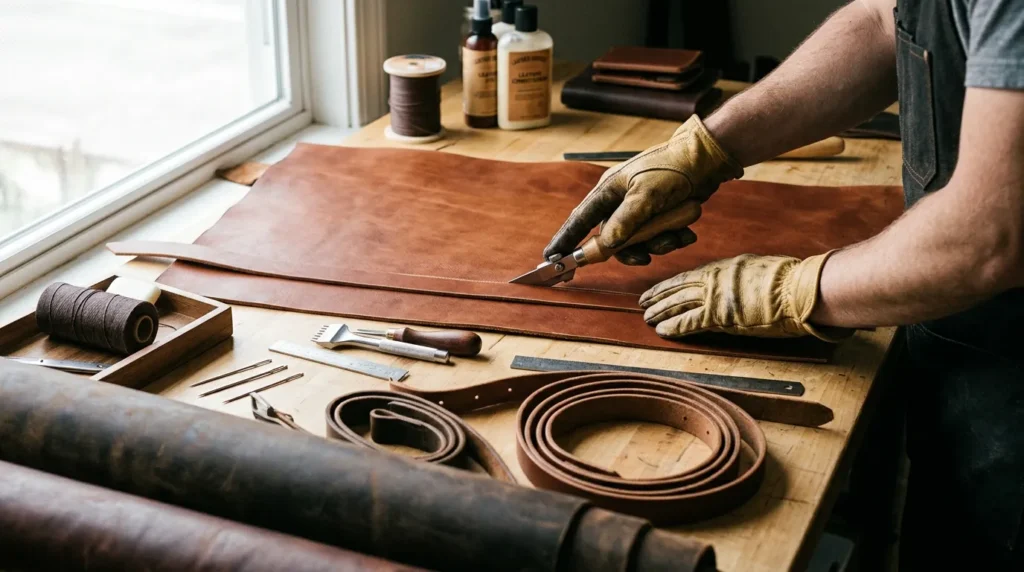
Cutting the Leather
If you have purchased the pre-cut leather strips, then all you need to do is to measure your dog’s neck and cut the collar length accordingly. However, if you have bought a wide leather sheet, get the strap cutter, adjust its width as per the collar and buckle’s width and make it run along one edge of the sheet.
After cutting a strap out of the metal sheet or piece of hiding, it’s time to measure for the dog collar. For this, get a measuring tape and wrap it around your canine’s neck, at the point where the collar is meant to rest.
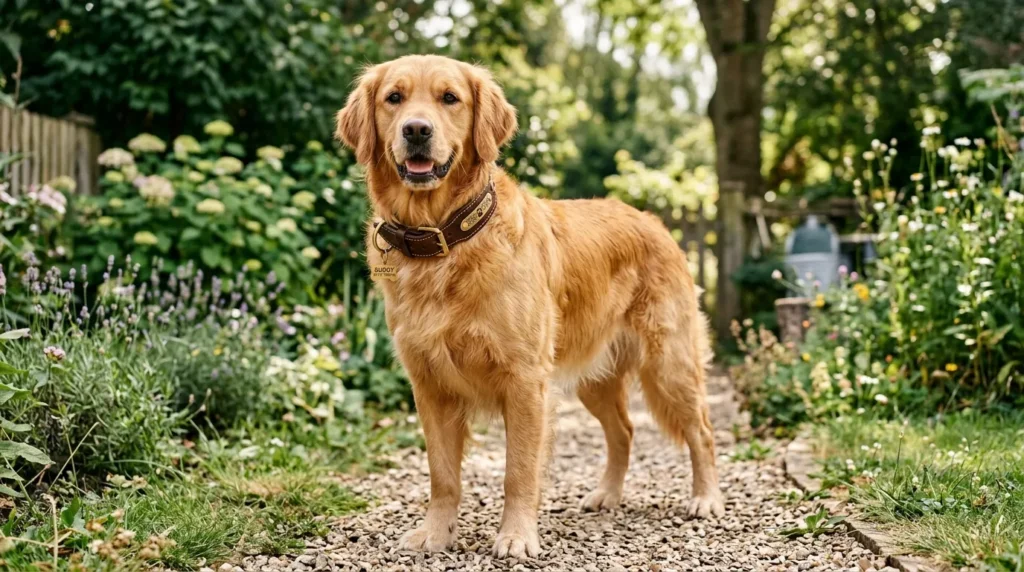
Trainers suggest that the collar should lay high around the neck, right under the jaw, and behind the ears. This will prevent your pooch from slipping out of it. However, use the two-finger formula to ensure the collar is not too tight.
In the end, cut the leather strap to a generous length. For instance, if you got the measurements of 6-inches, you better cut a 10-inches long strap. The reason for doing so is simple; you can never add to the length but can subtract from it anytime.
Preparing the Leather
After cutting the strap, the next step is to prepare it to convert into a collar. For this, you first need to smoothen all the edges using the edge sleeker. Doing so will not only keep the collar from chafing around your dog’s neck but also make the collar look more polished and well-made.
After edging the strap, the internal content of the leather will be exposed. Thus, you need to cover it using a waterproof sealant or dye. However, make sure the color of the sealant matches the original leather color otherwise, it will ruin the entire visual appeal of the collar.
Also, you need to get specified brushes to paint the edges otherwise the dye might smudge on the leather, making it stained and blotchy. In the end, smear the leather conditioner onto the whole straps to extend its service life.
Mark the Holes, and Punch Holes in the Collar
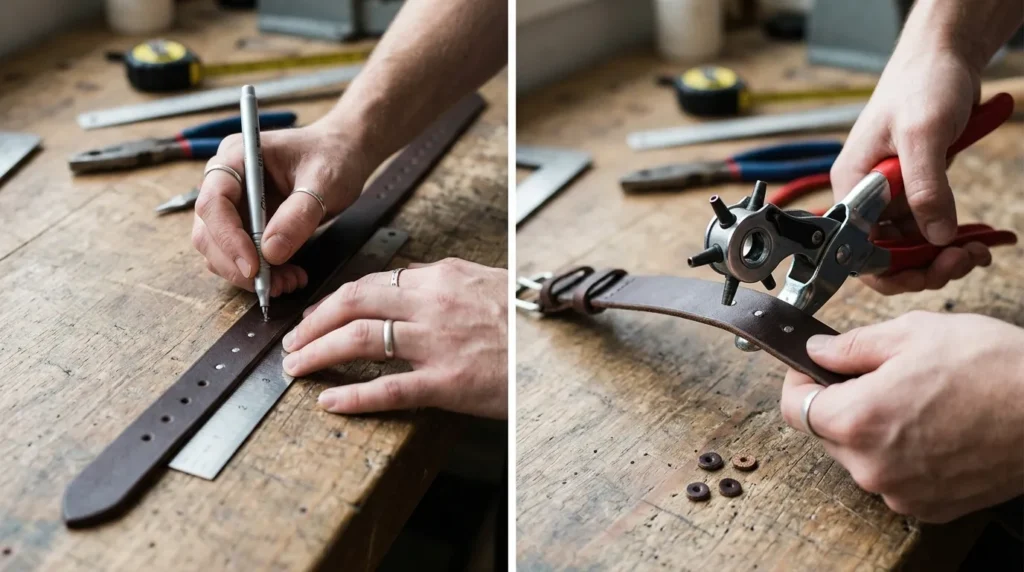
Now, after cutting and preparing the leather strip, it’s time to turn it into a real dog collar by poking holes in it. At one end of the collar, poke 5-6 holes through which the buckle pin will pass. Whereas, the other end of the collar will be made buckle end where the buckle will go.
Punch six holes, at fixed spaces, behind the buckle end. The strap will fold over the end so that all three holes will join a hole, on folding over. After this, secure each pair of holes with Chicago screws. In between these holes, you can also add oblong slots to hang tags and leashes.
Cleaning, Dyeing, Sealing the Collar.
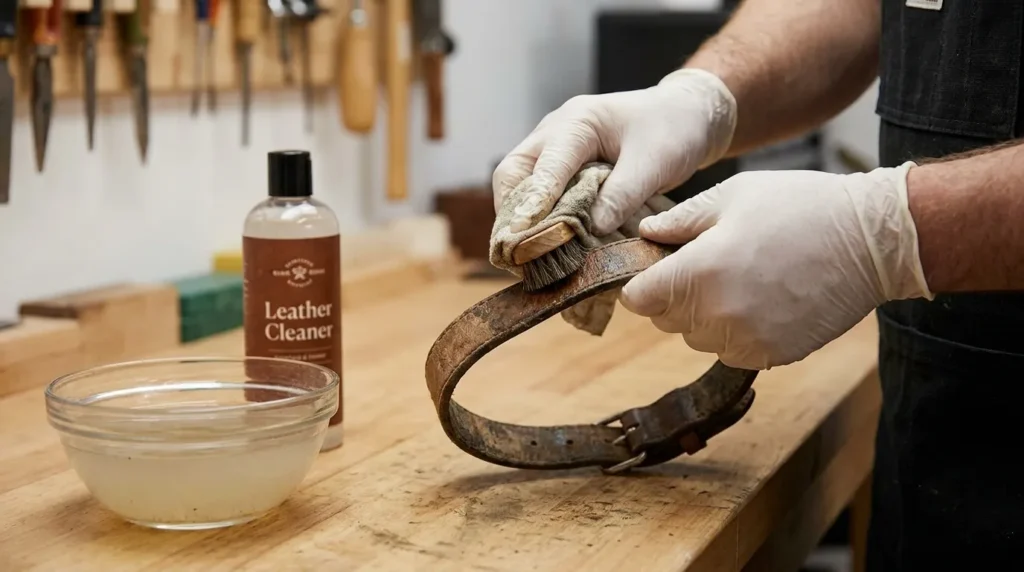
After punching holes in your collar, the next task is to clean, dye, and seal the collar before attaching the collar hardware. Note that this step must be done before putting the hardware on otherwise, the metal parts may get prone to corrosion.
Start with cleaning since while cutting, preparing, and punching holes in the collar, it must have accumulated a layer of dirt and body oils. So, clean the collar, first with a dry, clean rag, and wipe with a rag, slightly soaked in leather deglaze.
Once dried, your collar will be ready for paint job – choose whatever oil paint you like – my personal favorite is natural, brown dyes as they look cool and never get out of fashion. Before applying the second coat, let the first one dry. When done with all the paint coats, seal them by applying a layer of waterproof sealant.
Add the Buckle, D-Rings, and Rivets.
The last step is to assemble all the components. Slide the buckles into the corresponding end, through the oblong slot. Behind the buckle, three d rings will go, each separated by one Chicago screw.
Behind the first metal D ring, the double D-rig and single D-rings will go to attach the leash and tag, respectively. Once done, smooth the collar end by giving it whatever shape you like – round or square.
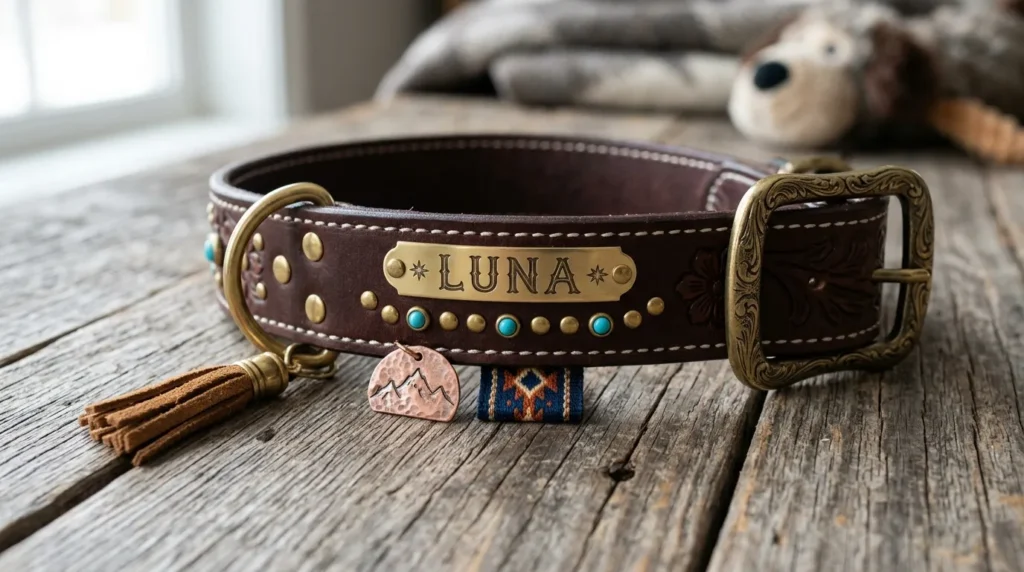
Decorate the Collar (Optional)
If you don’t want a boring leather collar, you can decorate it either by stamping patterns or by adding other decorative elements (studs, spikes, etc.). However, I won’t suggest using spikes or sharp-ended studs on a puppy collar since these elements may bite into his fragile skin.
Even if you want to use your DIY leather collar for training purposes, it’s better to design it as a tactical collar or no pull dog collar so your pooch can wear it as a regular collar, too. Stamping is the easiest and most enjoyable method to create patterns on leather.
For this, you first need to dampen the collar slightly with a soaked sponge. After this, place the stamping tool onto the collar and hit it with a hammer or a mallet.
Besides stamping way too articulate patterns, you can also opt for other cute options like stamping adorable paw prints, your pet’s name, or any other fun shape – no one is here to put a limit on your creativity, and you can get the result as you want it to be.
FAQs
What Kind of Leather Is Used for Dog Collars?
There’s no fixed rule about which kind of leather can be or can’t be used. The best leather dog collars are made up of genuine, full-grain leather since it’s most durable, featherlight, and gives a fulsome feel around your pup’s neck.
Besides, bridle leather is considered great for making belts, collars, and leashes since it’s hard to temper, firm leather that can withstand maximum weather exposure.
How Thick Should a Leather Dog Collar Be?
Keep in mind that thickness and weight are directly proportional to each other. Therefore, you need to select leather thickness as per your pooch’s weight hauling capacity.
Similarly, the thicker the leather collar is, the more durable it will be. So, if your dog is aggressive, go with the leather collar that is at least 1/4 inches thick. On the other hand, for a friendly, easy-going dog, a 1/8 inches thick leather collar will be sufficient.
Final Thoughts
Before wrapping up the article, here are some quick tips for how to keep your leather collar look as fresh as new (remember I told you that I made my first dog collar two years ago?) Due to these maintenance hacks, I didn’t need to replace the collar too often.
- Refresh the coating of beeswax or whatever sealant you’ve used for the first time. Doing so will keep your collar super resistant against weather extremities.
- Clean the collar at least once a week with a 50:50 solution of water and white vinegar. For more stubborn stains, rub the stained surface against a vinegar-soaked rug, directly, and then rinse with water.
- To keep the leather soft, keep the collar conditioned by applying manic oil or leather conditioner. It’s essential to condition a collar after every wash (if the collar is not in use, condition it twice a year to prevent it from drying out).
We hope you have found this article helpful. If you have any queries, just drop them in the comment section!