

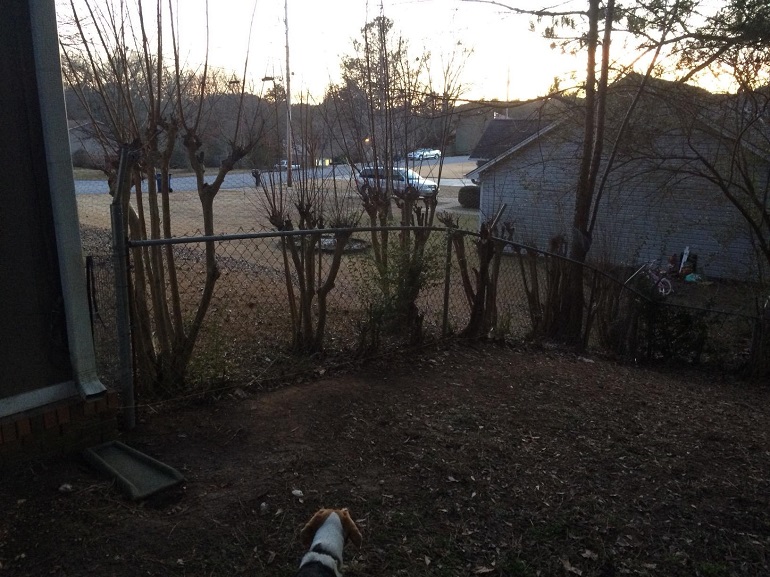
My aunt lives on an acre of land and has two stunning collie dogs named Benny and Lucy.
Benny likes to chase after cars, and Lucy likes to chase after deer and other wild animals. So, even though she has a large property, Benny and Lucy end up spending most of their time in a tiny fraction of the acre that is fenced.
It would cost a not-so-small fortune to fence in that large of a property, but an electronic dog fence would be a fabulous solution. It would allow Benny and Lucy to roam free while staying out of trouble.
With some simple tools, electronic containment systems can be a weekend-long installation project. They are affordable and can be used with multiple pets.
Once installed, plan on spending about two weeks training your pet so that they understand where the boundary line is.
What Is an Electric Fence System and How Does It Work?
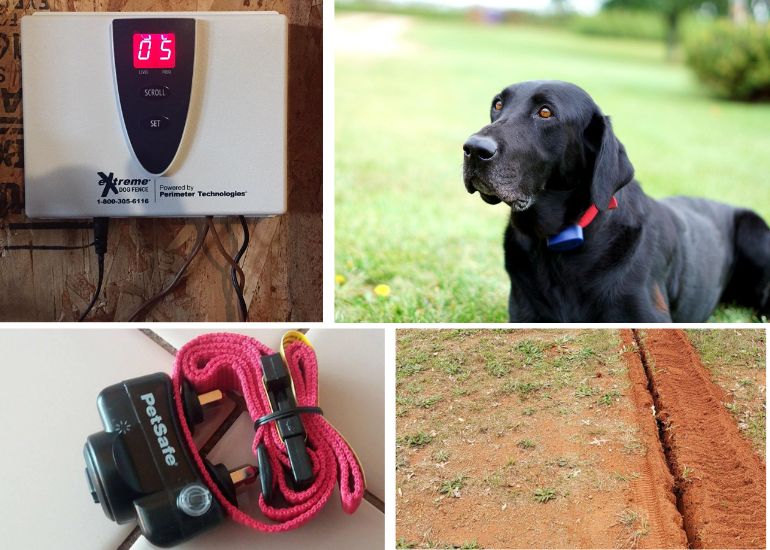
An electric dog fence is made out of buried wire that connects to a transmitter. The transmitter sends a signal through the wires.
Your dog wears a collar that can receive the signal from the system. When your dog approaches the boundary wire, their collar receives the signal and gives the dog some sort of feedback to warn them to back away. It is interesting to note how an electric dog fence works and helps to contain your fur baby within their boundaries.
You can usually adjust on the transmitter how close your dog is allowed to get to the wires before the receiver collar gives them feedback. Make sure your dog has enough room to play without getting buzzed.
Depending on the system, feedback for your pet can be set to a beep, vibration, or varying levels of static shock.
If you are concerned about the health of your dog and using a shock collar, speak to your dog’s vet to assess if it will be safe for them.
Keep in mind, training your dog well is the key to successfully using invisible fences. I’ll explain exactly what you need to do to train your pet for invisible fences later on in this article.
Occasionally, there are dogs who are extremely stubborn that will allow themselves to be shocked so that they can get to whatever they are interested in on the other side of the invisible fence.
How to Install Electric Dog Fence?
There are only a few simple steps involved in installing an invisible dog fence.

Step 1: Determine the Boundary Area
Draw out a map of your property on graph paper and plan where you want your dog’s safe zone to be.
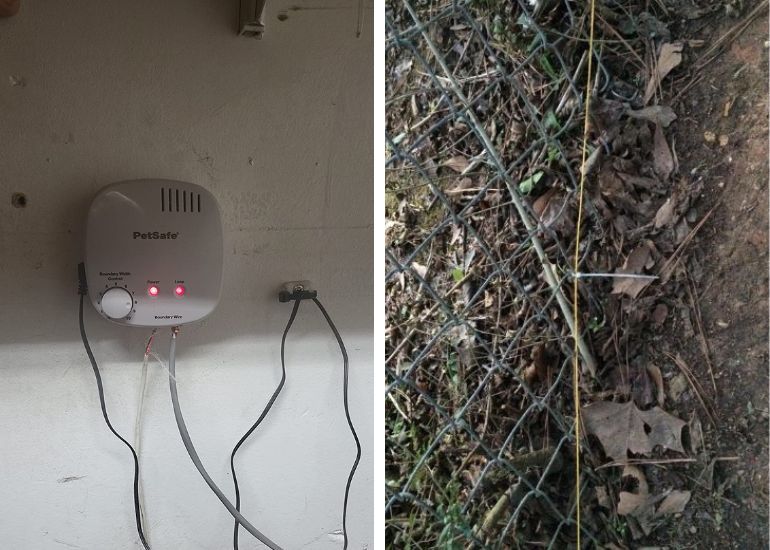
Don’t plan on running your boundary wires along chain link fences or along TV, phone, or electrical wires. These can all interrupt the fence’s signals.
If there are any areas in your yard that you don’t want your dog to have access to, you can add boundary wires around those. May pet owners use this method to block their dogs off from a pool, garden, or flower beds.
Next, go out and roughly measure the entire perimeter of where the invisible dog fence will go with a long tape measure. This will help you determine how much wire you need to purchase to install your fence.
Most systems come with enough wire to fence in one-third to one-half of an acre. You will need to purchase additional wire if you are fencing in a larger area for your pet.
For your extra wire, make sure to pay attention to the gauge of wire being used and purchase the same brand as the system you have.
Step 2: Mount the Transmitter
The transmitter for an invisible fence system needs to be mounted and plugged in somewhere it won’t get wet. A garage is usually a good choice.
- Don’t use a barn or shed that may not be water-tight to plug in your transmitter. This is both a fire and electric shock risk.
- The transmitter should not be mounted near an electrical box or any large appliances. these can cause electrical interference.
- To protect your system against lightning strikes or power surges, plug the transmitter into a surge protector.
- Pay special attention to the instructions in your kit on how to ground the transmitter.
Step 3: Lay the Wire, Connect to the Transmitter, and Test
You’re not going to bury any wires just yet.
- First, lay out the wire on the ground as you planned. It needs to create a single loop so that it starts and ends at the transmitter.
- If using a single wire loop will cut your dog off from accessing a doorway or gate, you can use a twisted wire (literally two wires twisted together) across those sections. Two wires close together will cancel each other out. If you need to use twisted wire on a long section, you can purchase pre-twisted wire. This is nice because trying to do it all yourself can cause the wires to get tangled and messy.
- Use gradual turns instead of right angles. Squared-off corners may confuse the transmitter.
- Once you have your wires laid out, connect them to the transmitter. Grab the receiver collar to test that the system is working properly.
- Turn the collar on and set it to “beep only” mode. Do not put the collar on yourself or your dog (maybe this is common sense, but I think it’s worth saying!).
- Walk to the boundary wire. If the collar beeps, everything is connected and working. Woo!
Connecting Wires
If you need to splice in extra wire, strip the ends of both wires that you plan to connect. Insert the two ends into a connector and twist it. Give it a tug to make sure it’s in their tight. Test it.
Once you are sure that the wires are connected properly and working (test it again with the dog collar), you can apply silicone caulk in and around the connector.
When that dries, wrap it in electrical tape so that the wire is ready to be buried.
Step 4: Burying the Wires
Safety first! If you don’t know where the power lines or other underground utilities are buried on your property, contact your city or county and have them come out to mark those spots before you start digging.
Your pet fence system likely came with a bunch of little flags. Stick these flags in the ground at regular intervals around the boundary before beginning installation. This will be important once it’s time to start your pup’s training program.
Working your way around the containment area, dig a small trench and insert the boundary wire. This should be about 3 inches deep.
If you dig too deep, the signal and your dog’s collar will have a hard time communicating.
Technically, with most electric fence systems, you could lay the wire and leave it above ground. However, it’s likely that someone will trip over the wire or cut it with a lawn mower on accident.
When you’re done burying the wires, test the system again by holding the collar at the fence line and making sure it beeps.
TIPS
- If you need to cross a concrete driveway or sidewalk, you can use a circular saw with a masonry blade attached to cut a channel for inserting the wire. Then cover it with the right kind of patching compound so that the wire stays put.
- If you need to lay the wire across a gravel or dirt driveway, run the wire through a long PVC pipe and bury that. This will protect the wire from damage.
- Consider making sure that your dog isn’t able to get close to the front door or mailbox with the way you lay the wire. This will keep your delivery people feeling comfortable approaching your house.
Congratulations! You have successfully installed your electric fence! On to the training…

Train Your Dog
Ok, listen up because this is important:
- Never let your dog run out into their backyard with the shock collar turned on unless you have given your dog training.If dogs get shocked and don’t understand why, it can cause fear, anxiety, or aggression.
- It can take up to two weeks of consistent work training your dog before you can leave them unattended in the yard. Each training session can be short. Consistency is key.
Sidenote: I’ve read of pet owners successfully training other animals, like goats, to use this kind of system!
Training Step: 1
First, after installing the pet fence and having the little flags in position on the ground, put your dog’s collar on and set it to “beep only”. Have them on a leash.
Walk your dog around the yard. When they get close to the boundary and hear the beep from their collar, bring them back towards the center of the yard.
Give them lots of praise and treats for turning away from the boundary.
Repeat this step in short sessions multiple times per day for a few days. When they seem like they understand where the boundary lines are, you can progress to the next step.
Training Step: 2
Next, set the collar feedback setting to the lowest level of shock and keep your dog on a leash. Move around the yard with your dog.
When they go near the boundary, the collar will give a small shock to get your dog’s attention. Your dog should back away from the boundary line when this happens.
When they move toward the center of the yard, offer lots of praise and some treats.
Do this multiple times until your dog consistently stays away from the flags and fence.
If your dog does not seem to notice when the shock collar gives correction, check to make sure that it is fitting properly.
You can adjust the level of static shock if necessary, but only go up one level at a time.
Training Step: 3
It’s time to see how your dog reacts to distractions and temptations.
At this point, the flags are still marking the boundary, and your dog is still on a leash.
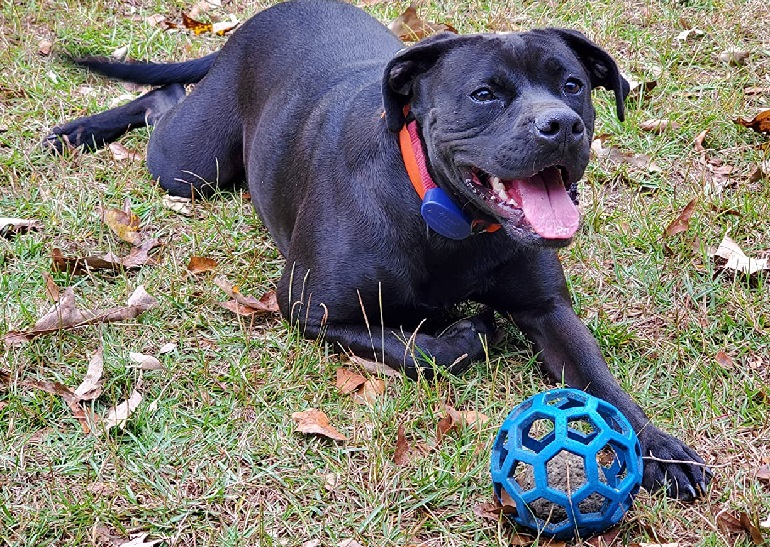
With your dog in the yard, roll a ball across the boundary.
If your pet does not make a move to cross the wire and get the ball, give them lots of praise. If they start to move, allow them to feel the shock from the collar and then call them back and give them praise.
You can also test their training by having a family member wander over the wire (do not call for your dog to cross the line as that may confuse them).
Or for another example, you could have a neighbor stroll by with their dog.
At this point, you’re almost done with training and will be able to safely leave your dog unattended soon.

Training Step: 4
The next training phase is to spend time in the yard with your dog, not on a leash. Give them lots of praise when you see them ignoring distractions that could tempt them to leave, like another dog walking past.
When you are confident that your dog’s collar is set to the optimal level of shock and that your dog knows where the wire boundary is and won’t cross it, the training is complete!
You can finally remove the little flags from the ground and let your dog enjoy their safe space.
By the way, if you’re curious about other ways to keep your dog in the yard without fences, you can also learn how to keep the dog in your fenceless yard.
Final Thoughts
With proper installation and consistent training, underground wire systems can be extremely effective at keeping your dog close to home.
These systems are inexpensive, and simple to install. They can also be best for irregularly shaped lots or varied terrain.
If you are unable to build a physical fence because of local regulations, the installation of an underground wire electric system might be one of the only options for you and your pet.
I hope that by following these steps laid out in this article, you will be able to know how to install an electric dog fence confidently and create boundaries for your pet.